Part 2: Home Collection Lights and Radio
This is the second in a series of blog posts about researching and rewiring Christmas lights to work with Arduino devices.
The first snag I have hit is the control box for the GE lights. As shown in the photo below, they use triangular screws, and I don’t have bits for those.

Triangular bits for these are hard to find — they usually are part of some 50-bit set and even them it is hard to tell if they are the right size before ordering. While I could try to force the screws using a slotted screwdriver, I really should be using the proper tool.
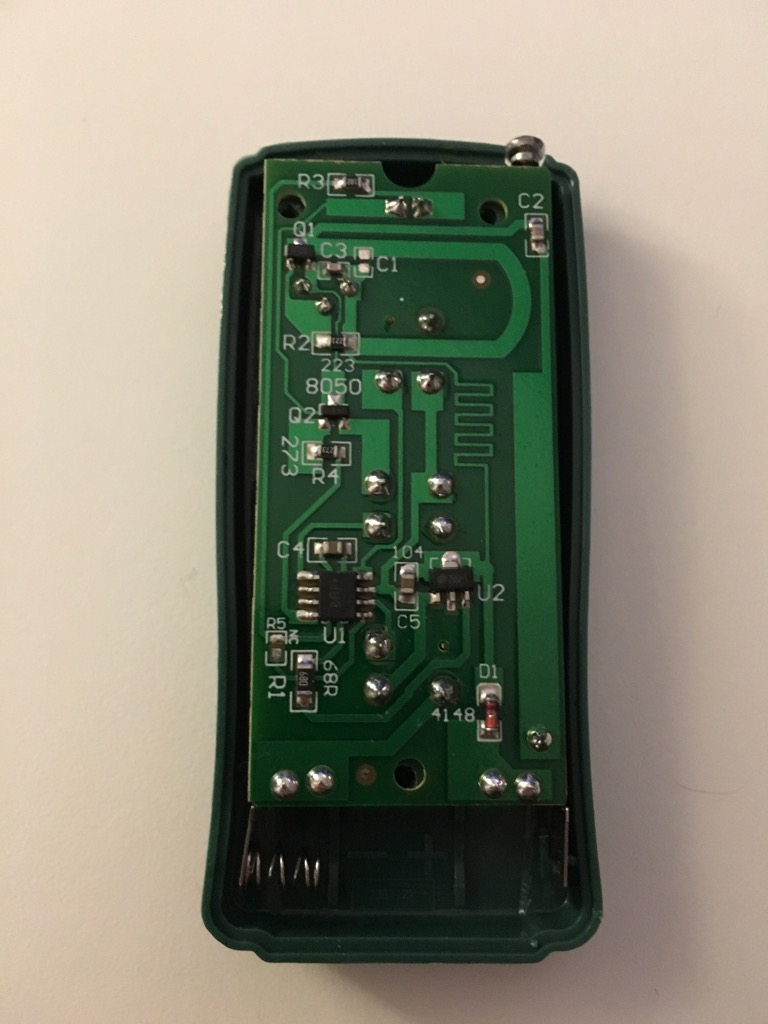
As for the HC lights, I was able to pop open the remote and find something interesting.

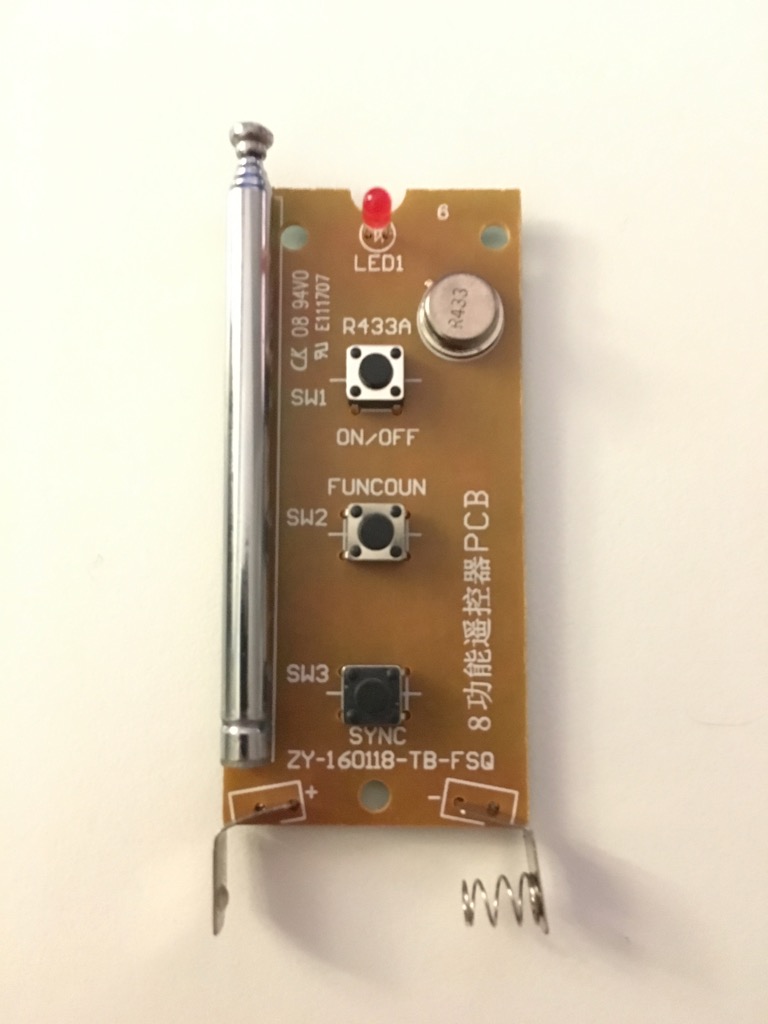
One way to find the frequency used would be to measure the antenna, but even easier is the R433A component. Looking online I found the datasheet, and it is a surface-acoustic-wave (SAW) resonator that operates at 433.920 MHz. Great!
This means I could get a 433.920 MHz transmitter/receiver for Arduino and determine the signal needed to control the HC lights controller box. After determining the signals using a receiver, I could try using a transmitter to repeat those signals and the secondary project will be close to complete.
And here is my preliminary plan, which will be changing as I figure things out.
Primary Project
- Open controller box, disconnect wires to original controller
- Wire power brick to Arduino board, make sure the 5V works
- Wire power and data lines from lights to Arduino board, test connection
- Write Arduino code to do more advanced light programs
- Connect Arduino to WiFi or Bluetooth and setup remote control from iOS or from a Raspberry Pi
- Find a weatherproof housing for the Arduino
- Find weatherproof cables to extend the connections from the Arduino controller to the lights and to the power brick
- Test outside!
Current problem: Get proper screwdriver to open controller box
Secondary Project
- Get 433.920 MHz radio boards for Arduino
- Test HC lights remote with Arduino and radio receiver to determine signals for controlling HC lights
- Use Arduino and radio transmitter to simulate the remote and control the lights
- Connect Arduino to WiFi or Bluetooth and setup remote control from iOS or from a Raspberry Pi
- Find a housing for the Arduino — it is wireless so it doesn’t need to go outdoors but it will need power
- Test range of the remote, then the range of the Arduino
- Get antenna if necessary
- Set up lights outdoors, then control them from indoors!
Current problem: I don’t have any Arduino radio boards