Raspberry Pi: Control NOMA Wireless Cluster Lights
Two years ago I worked through the process of setting up a Raspberry Pi as a control unit for an outdoor set of wireless holiday lights. I had been using the web interface to control it, until this year when I supplemented it with HomeKit support.
Two months ago I found a new indoor set of wireless holiday lights, that possibly might use the same frequency.
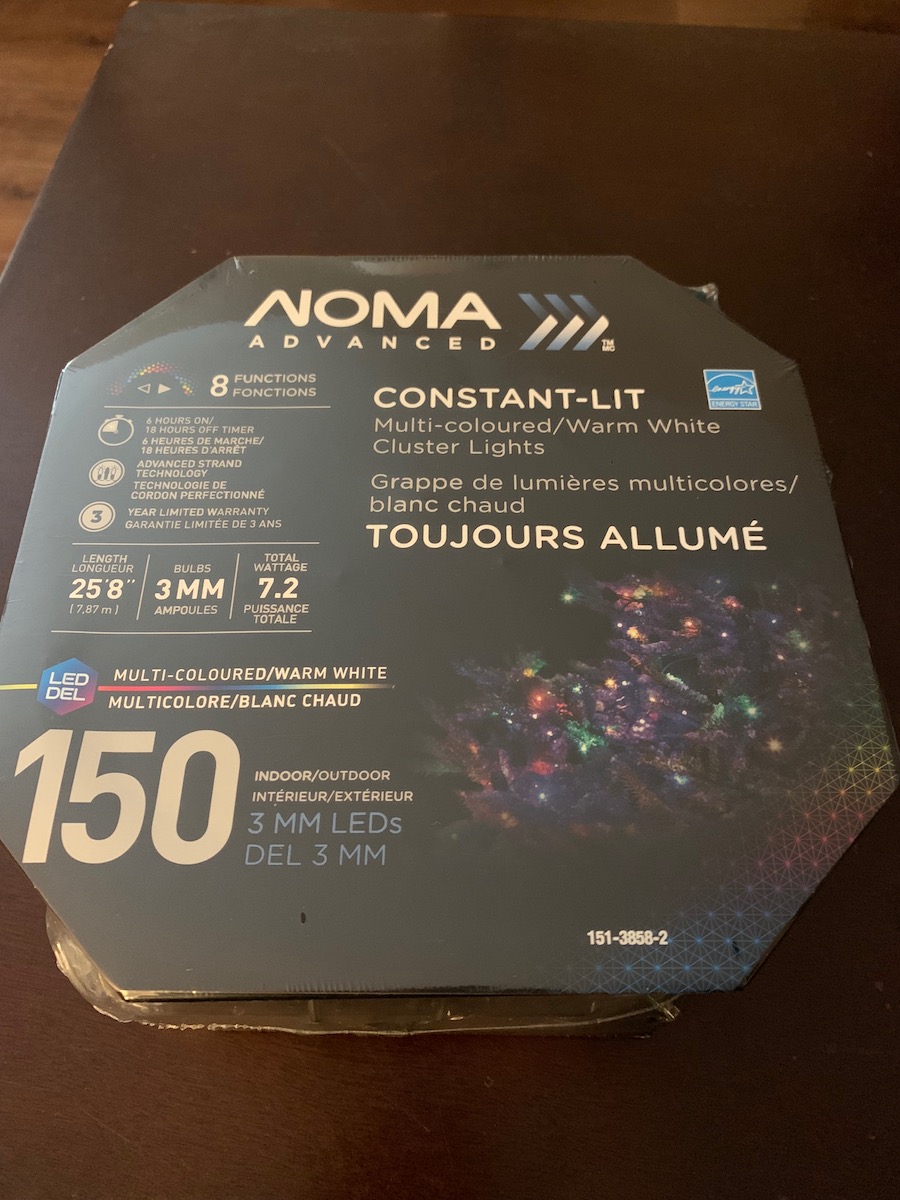
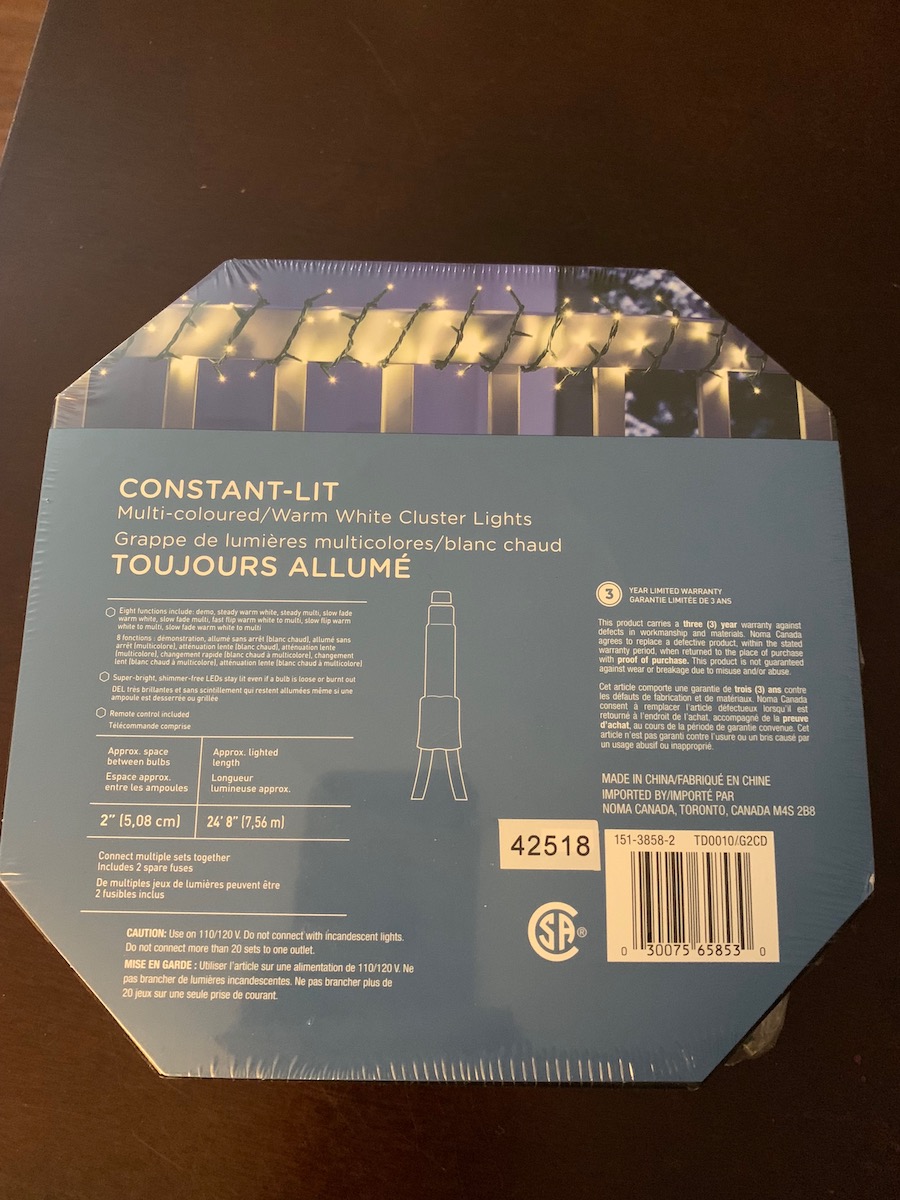
A nice feature of this set is that they can be daisy-chained in a way that only requires a single control unit at the beginning of the chain.
The set contains a single control unit, which has four simple Phillips screws sealing it. The interior is quite tidy, fortunately not full of glue.
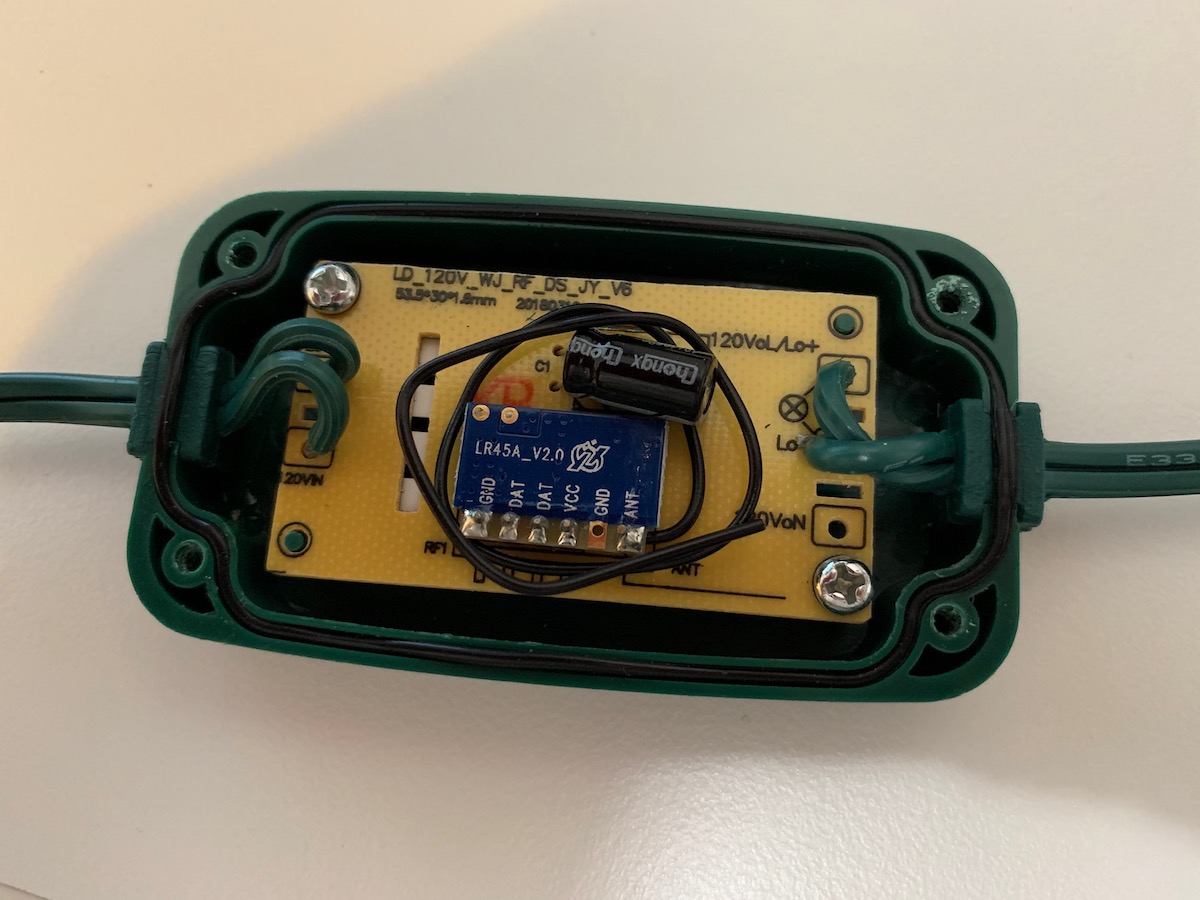
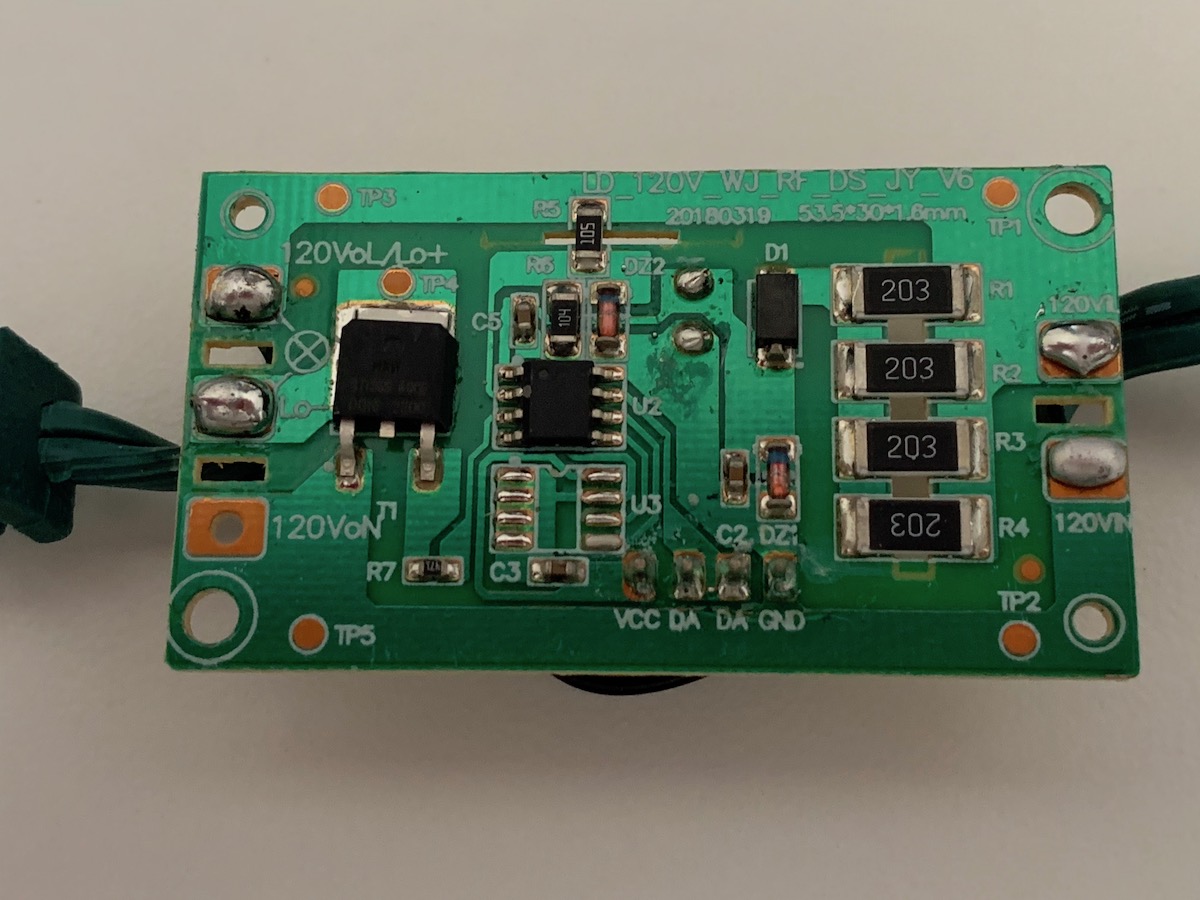
That top board is a LR45A, a very inexpensive 433 MHz receiver module. Great news, as that is what I already have working with my Raspberry Pi. The underside of the control unit (below), doesn’t reveal too much; I don’t know enough about this part of electronics to pull more info out. (It would be handy to dump the code off this board somehow…)
The remote control is also simple. Two buttons; one to cycle the active function, one to toggle the timer (6 hours on, 18 hours off).
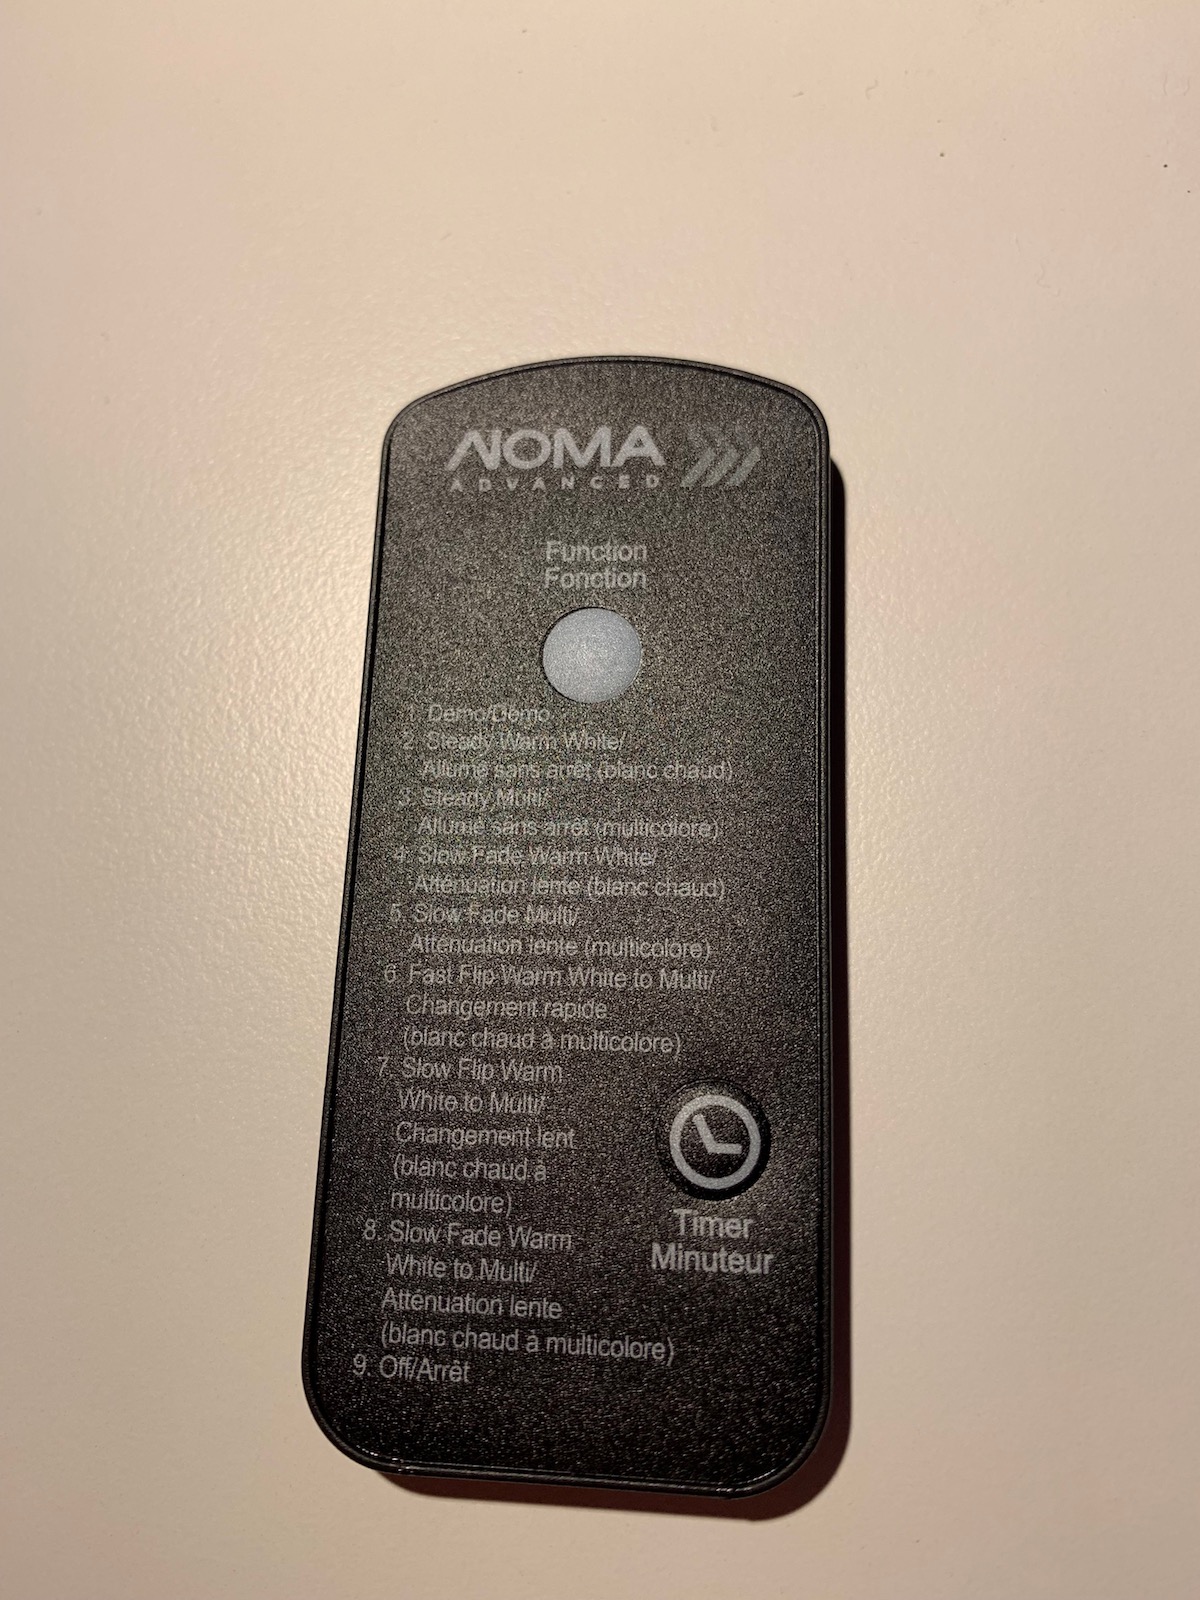
The top face peels off to reveal, well, not much. I guess this means there could have been a lot more buttons on here.
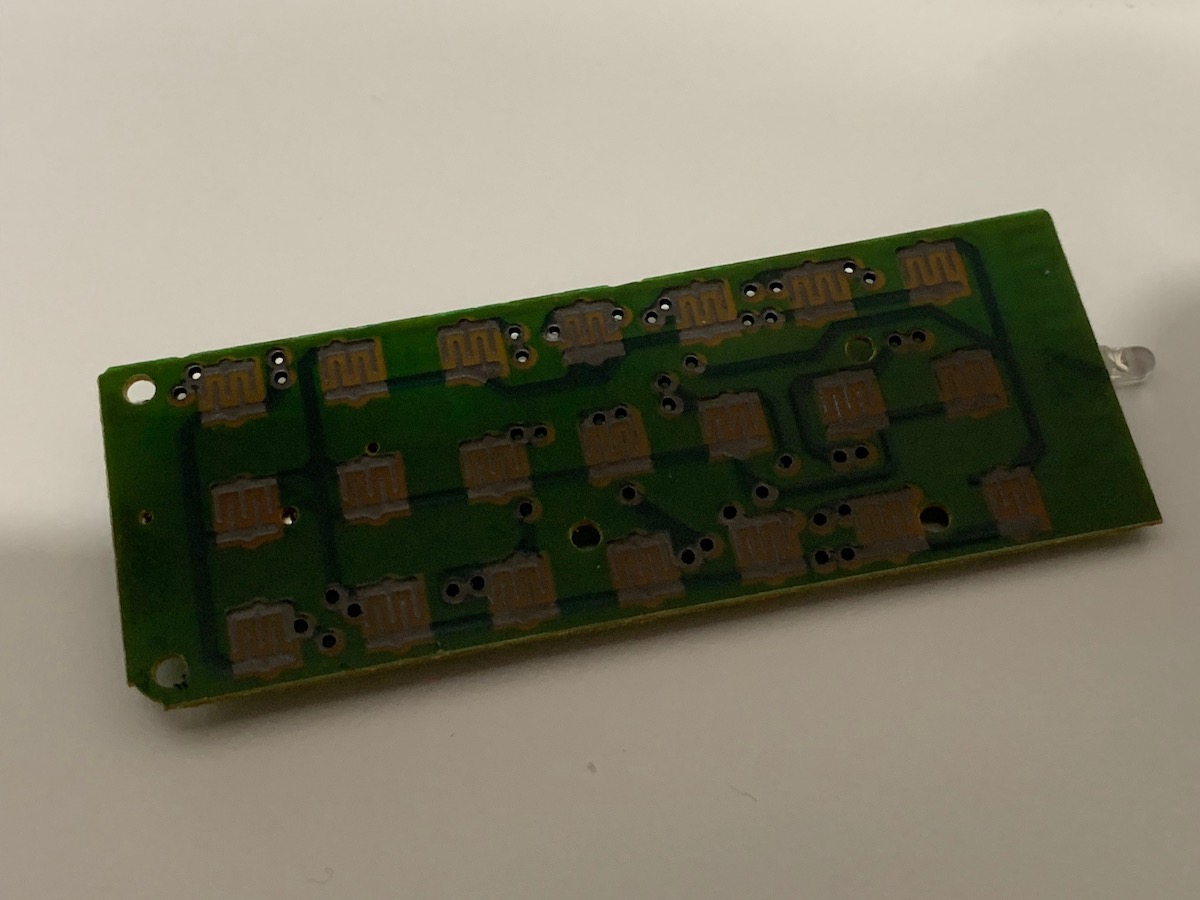
But the reverse side is interesting.
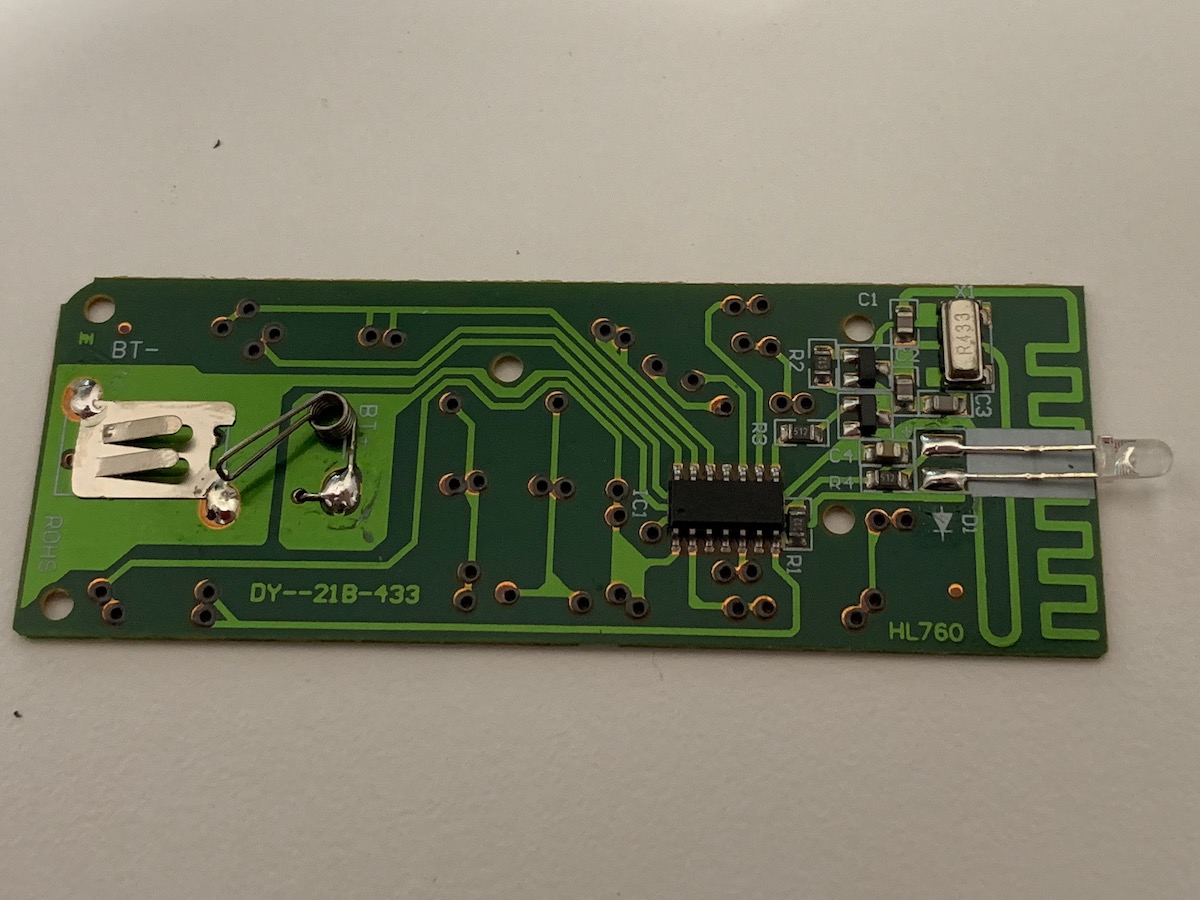
On the right, we can see a small LED that illuminates when a button is pressed. It looks and acts like an IR remote LED, but is only for looks. Underneath the LED the antenna trace is visible, and nearby is the “R433” chip. “433” is no doubt a 433 MHz chip, which of course matches the frequency for the control unit.
I re-assembled the remote control, and set up an Arduino Uno with a 433 MHz receiver chip. This process is identical to the process I used in 2016.
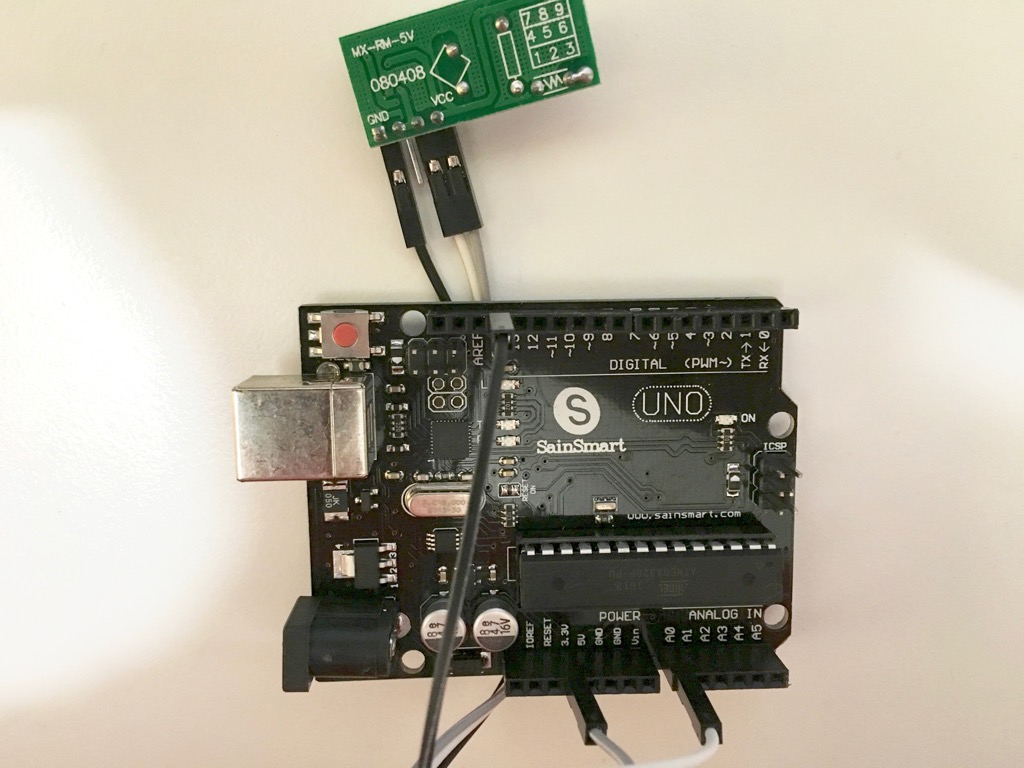
As I did last time, I used the Arduino IDE Serial Monitor to record the RF patterns from the remote. I had some issues at first receiving anything at all, until I brought the remote to about 3 cm away from the receiver.
The remote works by sending a pattern of “High” and “Low” signals of predetermined durations in a sequence, creating a code. Each code activates a specific function in the lights control unit.
I collected nine different presses of the “function” button, and two presses of the “timer” button. Unfortunately, I only needed one of each because this remote code set is very limited.
As soon as I got to the fourth table of codes for the “function” button, it was apparent they were all identical. This means one single code is responsible for cycling through on/off and the different light functions. That contrasts to the other set of lights, which had separate buttons (and separate codes) for “on/off” and for “cycle function”.
The “timer” button is also a toggle that always sends the same signal.
I used those two code sets to hack the pi-lights-control gem to support both light sets. While it works, it is not ideal as turning on or off is impossible without guessing the current state of the lights.
I don’t think there is a good way to turn these lights into HomeKit accessories using the 433 MHz control system. Instead, it may be better to hack one of the extra control units to add Wi-Fi and a custom controller — I will see about trying that in Fall 2019.